This is the tale of my new winter coat that I made from scratch, that is to say, I designed and made the felt yardage first. It’s a story of inspiration, perseverance, collaboration, knowledge acquisition, frustration, back aches, confidence building and joy. The glorious final outcome ticked all my boxes - great learning experience, beautiful colour and design, good fit and connections/friendships made. I will start with the finished product to inspire you to read on.

Final Coat
There are now four buttons. The cuffs and collar are matching nuno felted fabric. The patterns are squiggles of wool fibre, whispers of silk roving and patches of silk nuno felts printed with my own photographs of a decaying log. Great coat to wear to art openings!
Read on for the process.

Materials
I chose to use prefelts for two of the layers versus shingling out three layers. Much faster and a nicer finish I think. Two layers of very fine merino prefelts (Profusion prefelts from Outback Fibres) and one fine shingled layer of merino rovings (18.5 micron) in two randomly mixed colours (Kingfisher and Mallard) would provide me with a colourful base without too much work laying it out. The particulars of this prefelt are:
. 20.5 micron merino wool, colourfast and lightfast
. 75 grams per square meter (2.25 oz/sq.yd)
Amounts: 5 60”x80” prefelt sheets plus 2 lbs each of blending colours of 18.5micron merino
I also made a number of felt ropes with a strong fibre centre to add some rhythm between prefelt and the top layer of roving. A couple of spun wool fibres added markings and my own photograph of decaying logs printed on silk and nuno prefelted provided the big blocks of contrasting colour.
The amount of yardage I made was actually much more than I needed so these figures will be plenty to create yardage for a coat or a few smaller items. I had left over collar yardage which could easily make a bag or two.

Mechanics of Layout Design
I consulted with another felter, Chris Lisak, on the best approach to making the required yardage for my chosen pattern. Imagine that you are making fabric but it has to start large and shrink to approximately the amount you need for each of the various pattern pieces. What’s a suitable shrink rate? How many pieces do I need? What are some tips for laying on the design for the back, fronts, sleeves and collar? Where do the design elements go? That was fun to work out and I made too much yardage in the end but better too much than too little!
(Figure clockwise from top left: Back, front, collar and cuffs, sleeves)
Felting Process
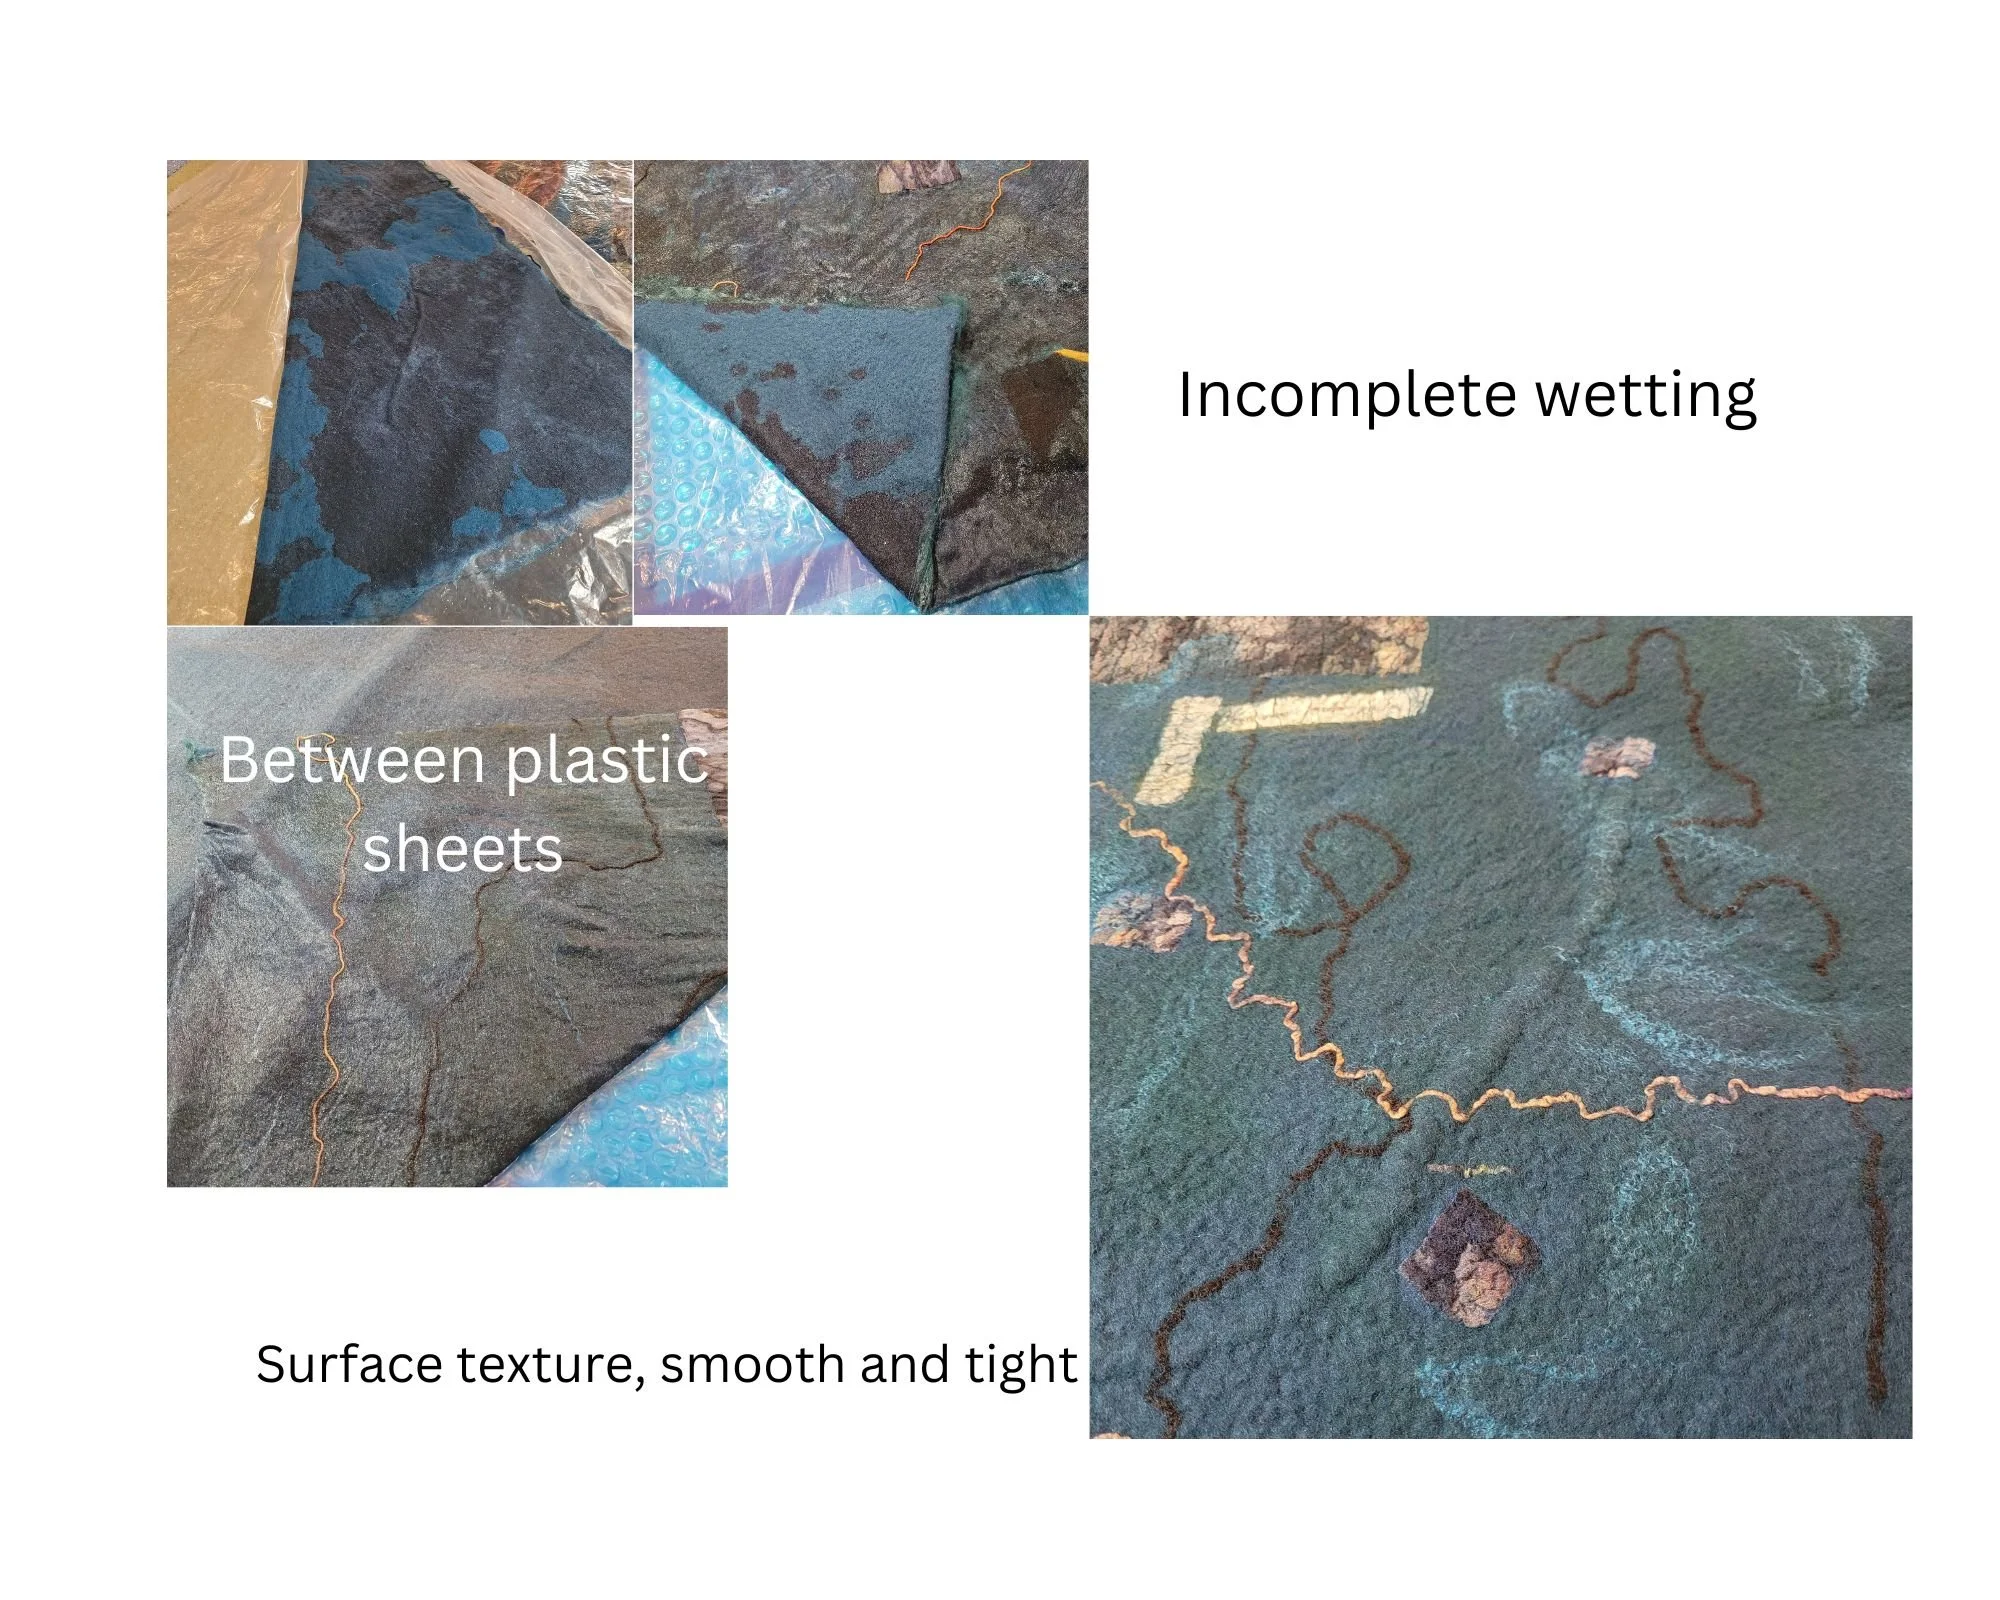
I chose to go with a fairly traditional felting route - rolling by hand and with the Gentle Roller followed by fulling by hand and using the Gentle Roller. After laying out the prefelts, roving and decorative elements on top of painter’s plastic, I wet down the work and covered it with another piece of painter’s plastic.
TIP: wetting prefelt can be problematic so keep pressing and rubbing and checking the back to see that the water has migrated all the way to the bottom of the stack. I rubbed all over the surface systematically paying attention to the decorative elements to ensure good connectivity. This is laborious and a sander might work as well. The Gentle Roller then took over the labour. 1000 to 2000 rolls in each direction. Once everything was nicely adhered, I started the fulling using the usual methods. Once the process was underway manually i had the Gentle Roller take over for 5000 throws.
I made four pieces of felt that shrunk anywhere from 22% to 29% overall. This was a little less than desirable - next time I would try to shrink at least 30% and put the yardage through a wash cycle before cutting out just to ensure it was well shrunk and less likely to pill.
The biggest pieces were the back and fronts at 72” long by 58” wide to start. The raw materials covered the entire surface of my two tables joined together. Such large sizes present a challenge for reaching all the surface, flipping over, rolling… you name it. You would be wise to get an assistant to help turn the bundle over in the early stages to check for dryness.

First Cut
I found a pattern called the Soho Coat from Tessuti fabric. Chris Lisak, a fellow felt artist, agreed to sew the coat. Here is the first cut. I had the coat pattern before laying out the design for the fabric but this first layout of the actual pattern on the finished fabric is where we find out how well my imagined finished fabric actually aligned with the pattern pieces. I also found that I had made way too much fabric!

Cutting and Sewing
Careful placement of the patterns pieces to best enhance the design of the yardage is key. Then having a person like Chris who really understands how to work with felt yardage and fit garments made all the difference.